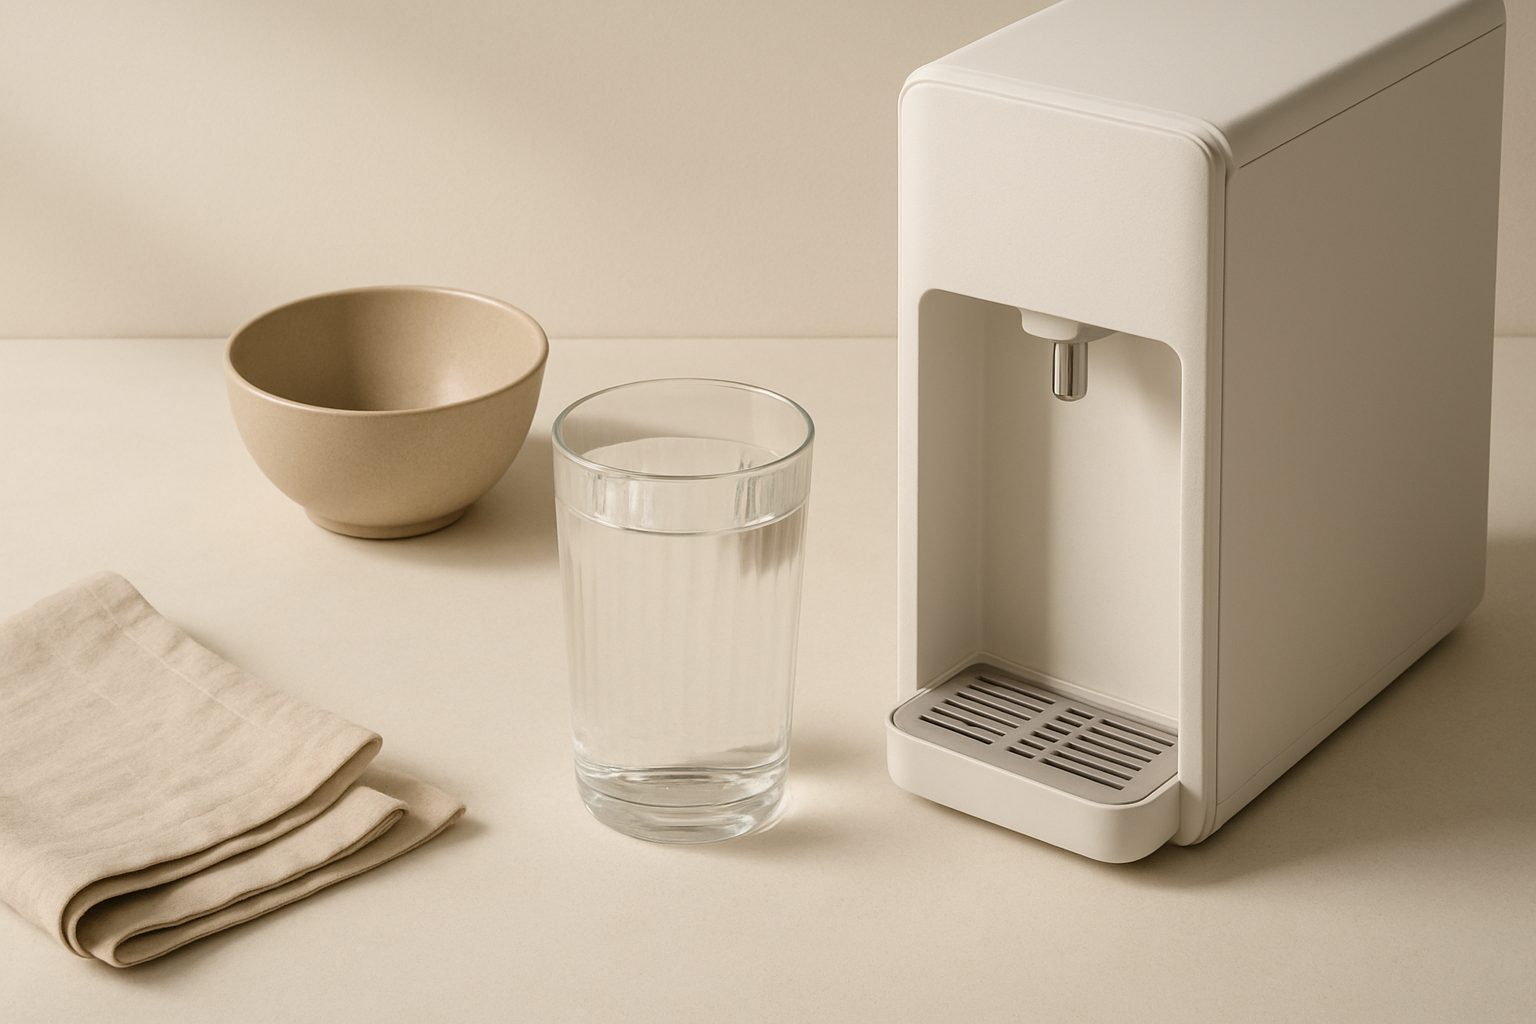
Home Water Chiller Installation Guide and Costs UK 2025
Home water chillers deliver instant chilled water at the tap—no more waiting for jugs to cool in the fridge. Whether you're after filtered drinking water or a practical kitchen upgrade, installation is straightforward if you know what to expect. Here's what actually costs, how long it takes, and whether you can handle it yourself.
What Is a Home Water Chiller?
A home water chiller is a compact appliance that connects to your cold water supply and cools incoming water to 4–8°C on demand. Most units sit under the sink or mount on the wall. They're simpler than you might think: incoming water passes through a small refrigeration unit, then out through a separate tap. No storage tanks required in modern point-of-use models.
DIY Installation vs Professional
The honest answer: most home water chillers are well within DIY reach if you're comfortable with basic plumbing. You don't need a Gas Safe engineer or a qualified electrician—just a standard 3-pin plug socket and water supply confidence.
DIY Installation
What you'll handle:
- Connecting the chiller to your cold water supply using standard push-fit or compression fittings
- Drilling a hole in your sink or worktop for the dispenser tap (if it doesn't already have one)
- Plugging in the power cable
What makes it realistic:
- Most under-sink chillers use push-fit connections—no soldering or specialist tools needed
- Drill holes are typically 8–12mm, easily done with a standard cordless drill
- Installation takes 30 minutes to 2 hours depending on your water supply layout
When you'd need a plumber:
- Your kitchen has limited access to the cold water supply (behind units, buried pipework)
- You want to tap into your mains supply at an awkward location requiring new pipework
- Your water pressure is outside the chiller's recommended range (ask the manufacturer—usually 1–6 bar)
Professional Installation
A qualified plumber charges £150–£350 for a straightforward under-sink installation. This includes connecting the chiller, fitting the tap, and testing everything. You'll pay more (£400–£600) if significant pipework changes are needed.
The advantage: peace of mind. A plumber confirms your water pressure is suitable, handles unexpected supply issues, and guarantees the work.
Installation Costs Breakdown (2025 Prices)
Chiller unit itself: £250–£800
- Budget under-sink models: £250–£400
- Mid-range (Everpure, Aqua Products): £400–£650
- Premium (Elkay, 3M): £650–£900 (often include better filtration or aesthetics)
Tap and fittings: £30–£100
- Usually included with the chiller
- Premium stainless-steel replacement taps: £60–£100
Installation labour: £0 (DIY) or £150–£350 (professional)
Filters and servicing (annual): £40–£80
Total first-year cost (DIY): £280–£880 Total first-year cost (professional): £430–£1,230
Best Units for DIY Installation
If you're self-installing, choose a model with these features:
- Point-of-use under-sink design – simpler than plumbed fridge chillers
- Push-fit connections – standard 6mm or 8mm plastic tubing, no compression fitting hassle
- Slim or compact body – easier to squeeze under tight sink spaces
- UK stock availability – no weeks waiting for replacements
Models popular for DIY installation include Aqua Products' undersink range (straight forward push-fit setup, readily available in the UK), Everpure's E-Filter+ systems (compact, clear instructions), and Franke's MyWater (designer finish, still manageable plumbing).
Step-by-Step DIY Installation
1. Turn off the mains water at the stopcock under the sink.
2. Locate your cold water supply—usually a 15mm copper or plastic pipe with an isolation valve. If no isolation valve exists, install one first (£20 part, 20 minutes' work).
3. Install a tee connection on the cold supply using a compression fitting or a simple push-fit tee connector. This splits water between your normal cold tap and the chiller.
4. Run the inlet tubing from the tee to the chiller input, securing with clips every 30cm.
5. Position the chiller under the sink, checking it has ventilation space (usually 10cm clearance required). Avoid direct sunlight on the tubes.
6. Connect the outlet tubing to your new chiller tap.
7. Drill the worktop hole for the tap spout (if required). Use a 8–12mm hole saw, support the granite or solid surface underneath with a block.
8. Fit the tap following the chiller's instructions—most use a simple twist-lock below the sink.
9. Turn water back on and check for leaks at the tee fitting and chiller connections. Tighten slightly if dripping.
10. Power on and wait 20 minutes for the first chilled water to flow (the compressor cools gradually).
Common DIY Mistakes
- Ignoring water pressure: Check your supply pressure beforehand. Too high, and you risk leaks; too low, and the chiller won't fill fast enough. A simple pressure gauge (£10) clarifies this.
- Poor tube routing: Sharp bends or kinks in the inlet tubing reduce water flow and stress the connections. Gentle curves only.
- Inadequate ventilation: The chiller's condenser (rear panel) needs airflow. Boxed-in units overheat and shut down.
- Forgetting a drain tap: Some chillers need a small isolation valve on the inlet. Check your manual.
Maintenance and Running Costs
Water chillers are cheap to run—around 2–4 pence per day in electricity (depending on how often you use it). Filters need replacing annually (£40–£60), and the chiller itself typically lasts 7–10 years before needing replacement.
Final Thoughts
For most UK homes, a DIY under-sink chiller installation is straightforward plumbing work that takes an afternoon. If you're confident drilling holes and connecting water pipes, you'll save £150–£350 on labour. Professional installation is worth considering only if your water supply layout is complex or your confidence is low.
More options
- Under-Sink Mains-Fed Water Chillers (Amazon UK)
- Countertop & Tabletop Water Chillers (Amazon UK)
- Filtered Water Chiller Combo Units (Amazon UK)
- Cold Plunge & Hot Tub Water Chillers (Amazon UK)
- Replacement Chiller Filters & Maintenance Kits (Amazon UK)