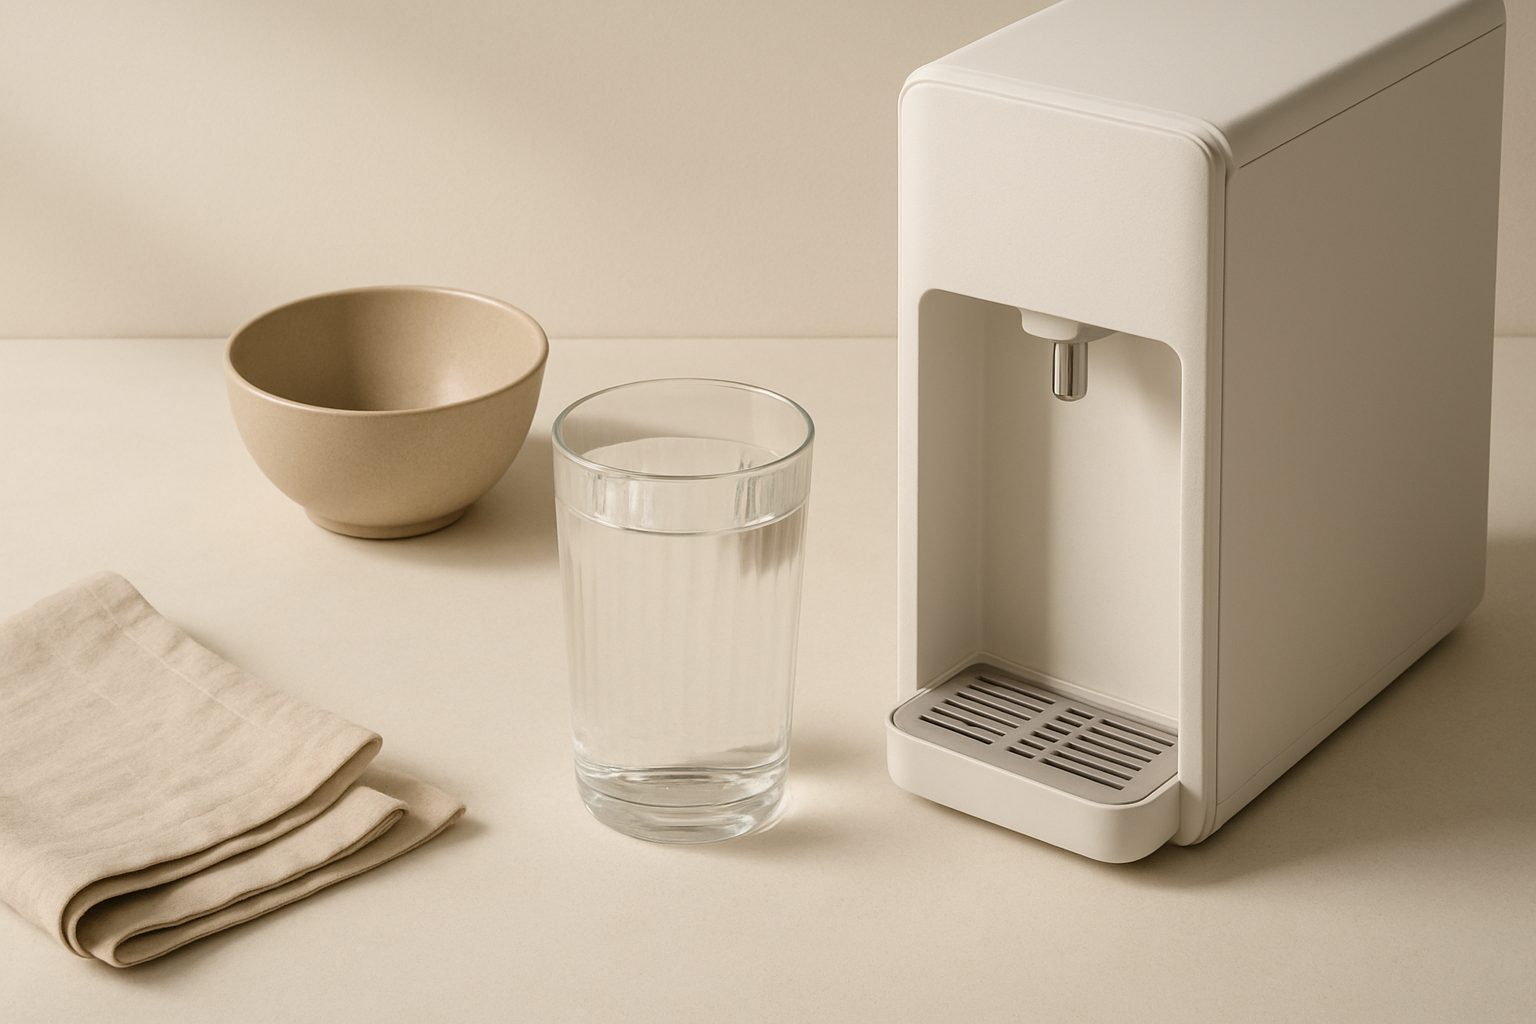
How to Install an Under-Sink Water Chiller in a UK Kitchen: Step-by-Step
Installing an under-sink water chiller is straightforward enough for most homeowners, but it demands careful planning and attention to detail. Get it right, and you'll have chilled drinking water on tap without the clutter of a counter-top unit. Rush the job, and you risk leaks, poor water quality, or a chiller that doesn't perform as promised. This guide walks you through the installation process from start to finish.
Before You Buy: Check Your Space and Setup
Your kitchen must meet a few basic requirements before you can install an under-sink chiller. Measure the space beneath your sink—most under-sink units are around 40cm wide, 45cm tall, and 25cm deep. If your pipes, waste trap, or cleaning supplies eat into this, installation won't work without moving things around.
Check your water pressure too. UK mains water is typically 1–3 bar; most chillers need at least 1.5 bar to function properly. If you're on a low-pressure system (common in older properties or rural areas), ask the installer or manufacturer whether your setup will work.
Finally, verify that your cold water supply comes from the mains (not a tank in the loft). Chillers connected to gravity-fed systems often underperform because of insufficient pressure. If you have a tank-fed system, you'll need a booster pump, which complicates installation and adds cost.
What You'll Need
Tools:
- Adjustable spanner or wrench set
- Pipe cutter or hacksaw (if cutting copper)
- Bucket (for spillage)
- Towel or cloth
- Flat-head and Phillips screwdrivers
- PTFE tape
Materials:
- Compression fittings and push-fit connectors (supplied with most units)
- Extra copper or plastic pipe if needed
- Plug and outlet (nearby socket required)
Most modern under-sink chillers come with installation kits that include the tap, mounting bracket, and connector fittings. Check what's included before you start.
Preparing Your Installation
Turn off the water supply to your kitchen cold tap—you'll usually find an isolation valve beneath the sink. Turn it clockwise until tight. Turn on the tap to release any remaining pressure, then turn it off again.
Disconnect the existing cold water pipe that feeds your kitchen tap. If it's a push-fit fitting, you can usually unscrew it by hand or with a spanner. If it's soldered copper, you'll need a pipe cutter. Place a bucket underneath to catch any remaining water.
Unpack your chiller and read the manufacturer's instructions carefully—some units have specific installation orientation, and getting this wrong will cause poor performance or damage.
Installing the Chiller Unit
Slide the chiller into the space beneath your sink. It should sit on the cabinet floor, not on pipes or waste traps. Make sure the back is accessible for any cleaning or maintenance later.
Check the water inlet and outlet connections on the back or underside of the unit. The inlet should connect to your mains cold water supply; the outlet feeds the tap. Some units have colour-coded connections—usually blue for inlet, black for outlet—but verify this against your instructions.
Use the push-fit connectors or compression fittings (whichever your unit requires) to join the inlet to your mains water pipe. Hand-tighten first, then use a spanner to secure firmly but not excessively—over-tightening can crack the fitting.
Connect the outlet pipe to the point where your kitchen tap's cold water supply would normally come from. If you're installing a dedicated chiller tap as well, route the outlet pipe to its inlet connection instead.
Installing the Tap
Most under-sink chillers come with a separate dispenser tap that sits on the sink rim or work surface. Drill a hole in your sink or countertop if one doesn't already exist. The tap will have a rubber washer and mounting nut underneath—slide these onto the stem, push the tap through the hole, and tighten the nut securely from below.
Connect the tap's inlet to the outlet pipe from the chiller using the supplied connector. Ensure all connections are hand-tight, then use a spanner to secure them. Don't forget PTFE tape on threaded connections—it prevents drips.
Electrical Connection and Testing
Plug the chiller into a nearby socket. Most units require at least 3 amps. If no socket is within reach, you may need to arrange an electrician to install one—avoid using extension leads as a permanent solution.
Turn your mains water supply back on slowly. Open your new chiller tap and let water run for 30 seconds to flush out any debris from the system. You'll notice the water comes out at mains temperature initially.
Allow 30 minutes for the chiller to cool the water in its tank. Then run water again and feel the temperature—it should be noticeably cold. Most units take 1–2 hours to reach full cooling capacity after first use.
Common Issues and Fixes
Water doesn't flow: Check that the inlet connection is secure and the water supply isolation valve is fully open. Confirm the mains pressure is adequate.
Water leaks from fittings: Turn off the water, dry the leak point, and tighten the connection. If it still leaks, disconnect, wrap the threaded part in extra PTFE tape, and reconnect.
Water isn't cold enough: Ensure the unit is plugged in and switched on. It may need more time to reach temperature. If it's been running for hours and still not cold, check the chiller hasn't frozen solid—if ice forms inside, unplug it and let it thaw.
Water tastes odd: This is often normal for the first few uses. Flush the system by running water for 5–10 minutes. If the taste persists, check that the inlet is connected to the mains supply, not contaminated water.
Installing an under-sink water chiller is well within reach for a confident DIY approach, provided your kitchen layout and water supply cooperate. Take your time on the connections, test thoroughly before you finish, and you'll have chilled water on demand with minimal fuss.
More options
- Under-Sink Mains-Fed Water Chillers (Amazon UK)
- Countertop & Tabletop Water Chillers (Amazon UK)
- Filtered Water Chiller Combo Units (Amazon UK)
- Cold Plunge & Hot Tub Water Chillers (Amazon UK)
- Replacement Chiller Filters & Maintenance Kits (Amazon UK)